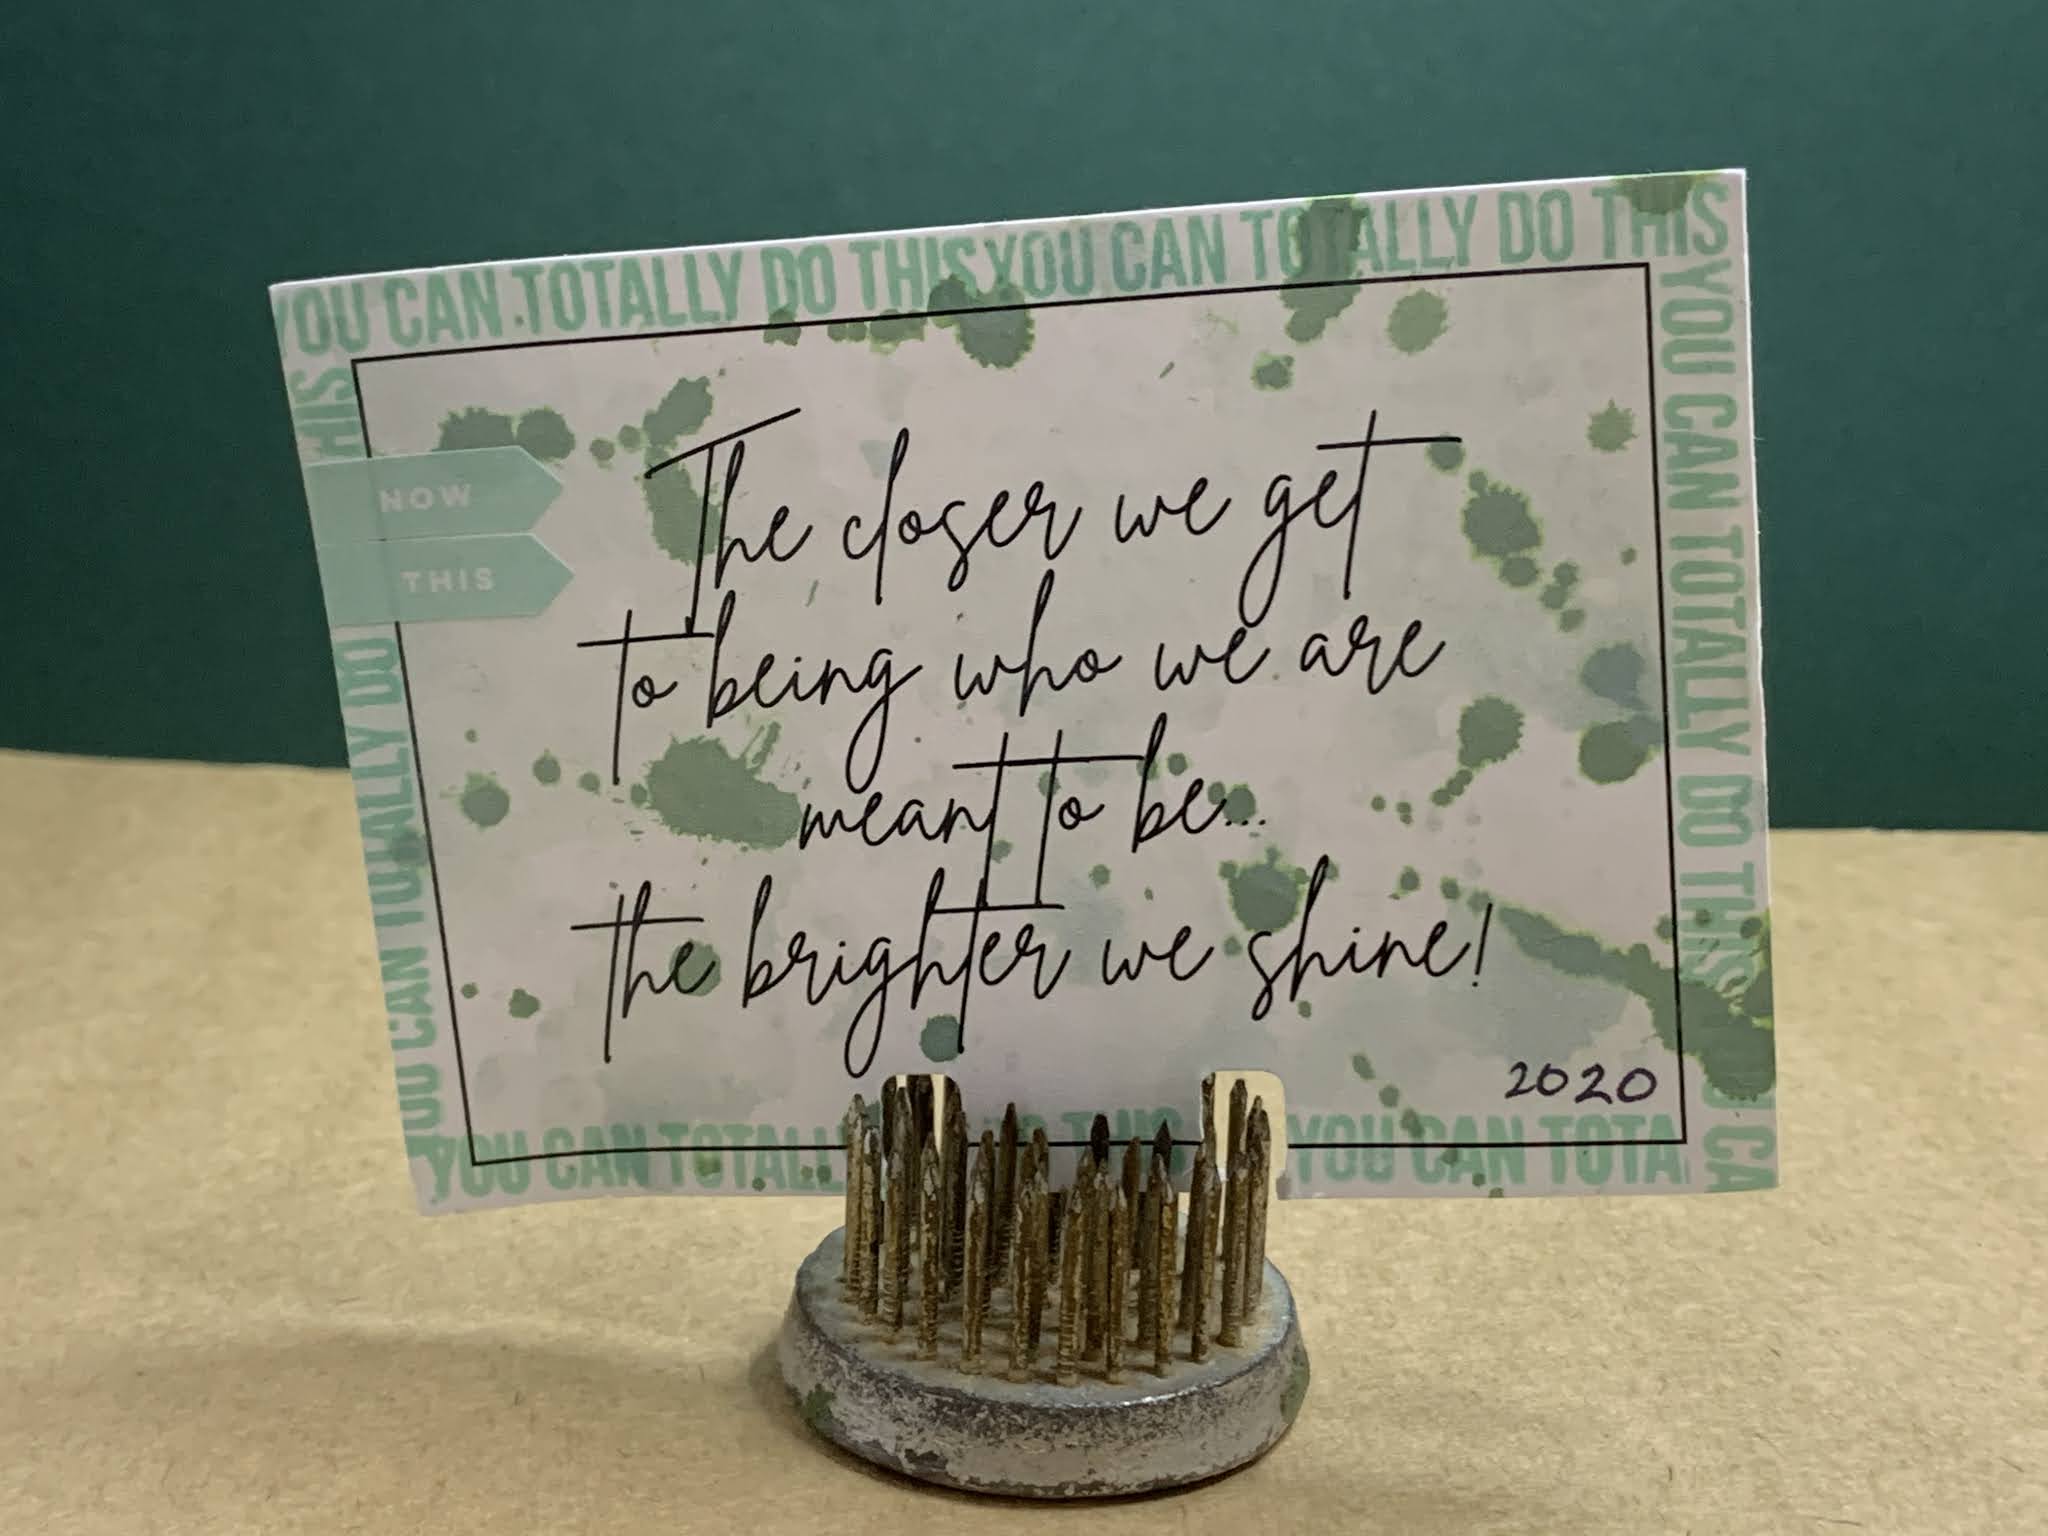
Who was totally ready to end 2020 and ring in the new year? Me. I don’t think I was the only one. Can’t say there’s been much improvement on my end but we live in hope. January was a right-off for me health wise and I only started to feel more like me around mid February. Who would’ve thought 2021 could be worse than 2020? Sigh.
Crafting helps though and it’s nice to have had a couple of creative weekends lately. I signed up for the Vicki Boutin Storyteller weekend in November last year and I’m proud to say I recently completed the album and layouts once the missing product was sent in February. I only need to add photos to the album and 3 of the layouts.
In January 2020, I made another Vicki Boutin album, and true to Vicki style , it is packed even without the photos. The Storyteller album is the same so I split the two abums into three albums. I tried to make the new album similar to the storyteller album by using the stencil. The first attempt did not work, it wiped right off. I switched to archival ink and it worked a little better. I finished it off by adding some stickers left over from the kit. Gotta use ‘em up!
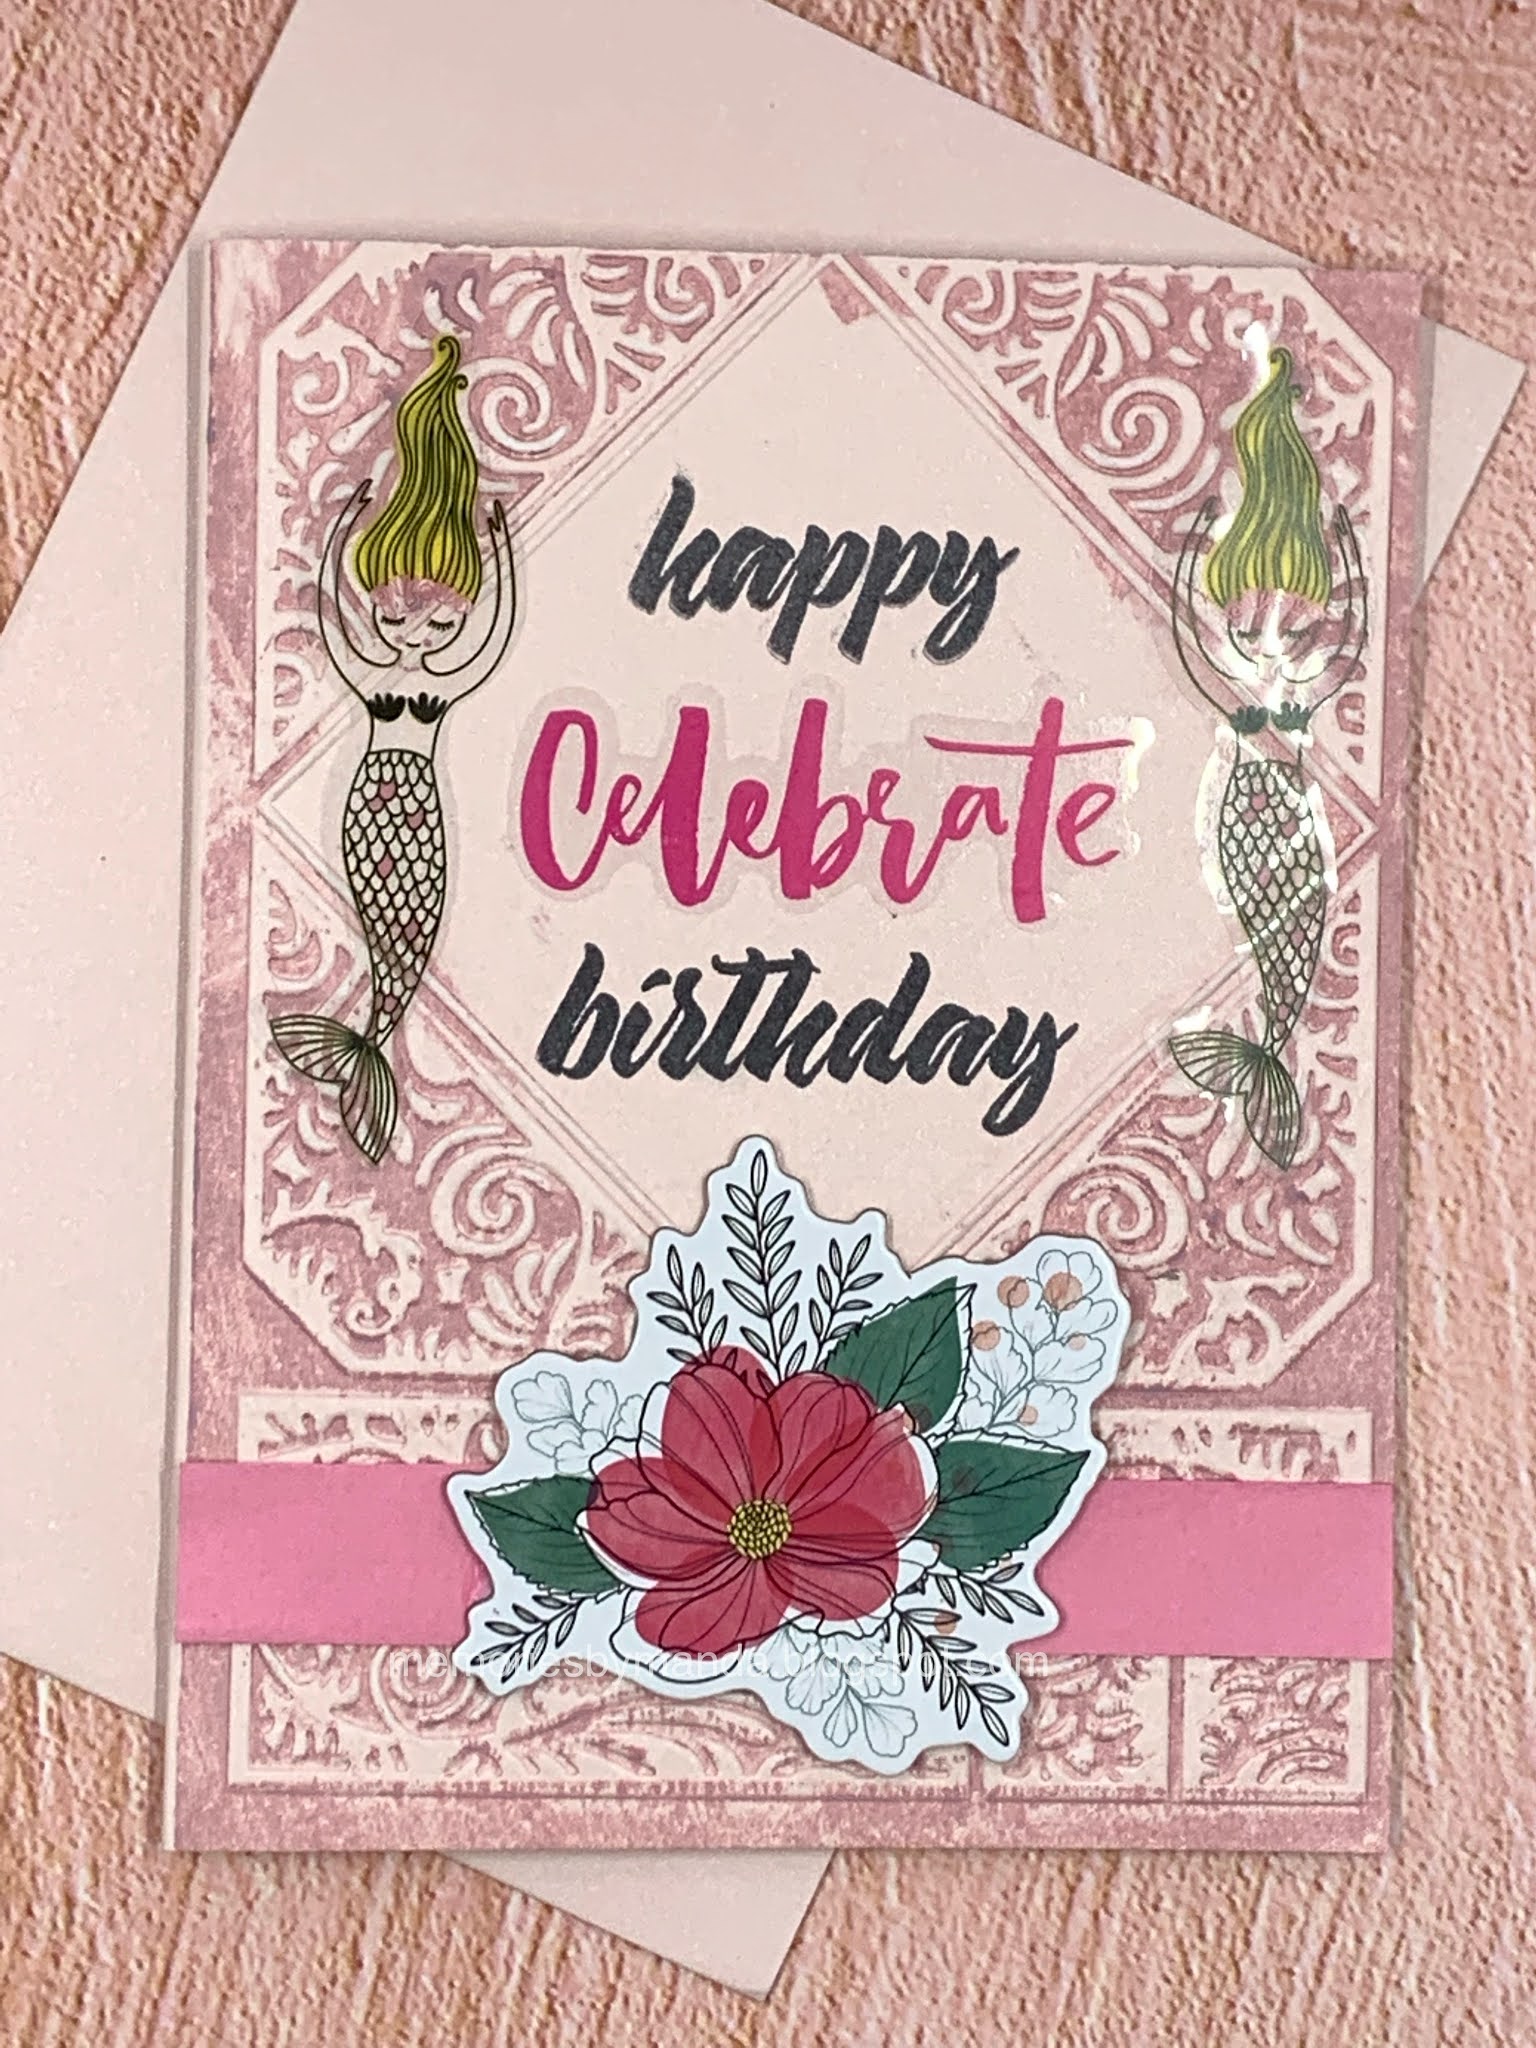
When I finished one of the sticker sheets I thought to myself: I could use that and stamp in the open spaces. In the end I backed it with the packaging from some of my Vicki product - it’s too pretty to throw out. The mixed media was already done for me on the background, I just needed to colour the sticker background with Vicki’s water colour pens. Final step was stamping in the blank spaces. I’m just waiting for the right photo, or I will make it into a card.
Lastly, I have a tip for you that I worked out. When I add water to my inks for water colouring, I usually use my spray bottle. I don’t like to keep a water cup around because of the risk of spilling and I don’t like how dirty the water gets. When I finished a bottle of eye drops I decided to fill it with water and use that instead. I think it works really well. Let me know if you try it out for yourself